No products in the cart.
Durometer, Hardness Meter, Instruments
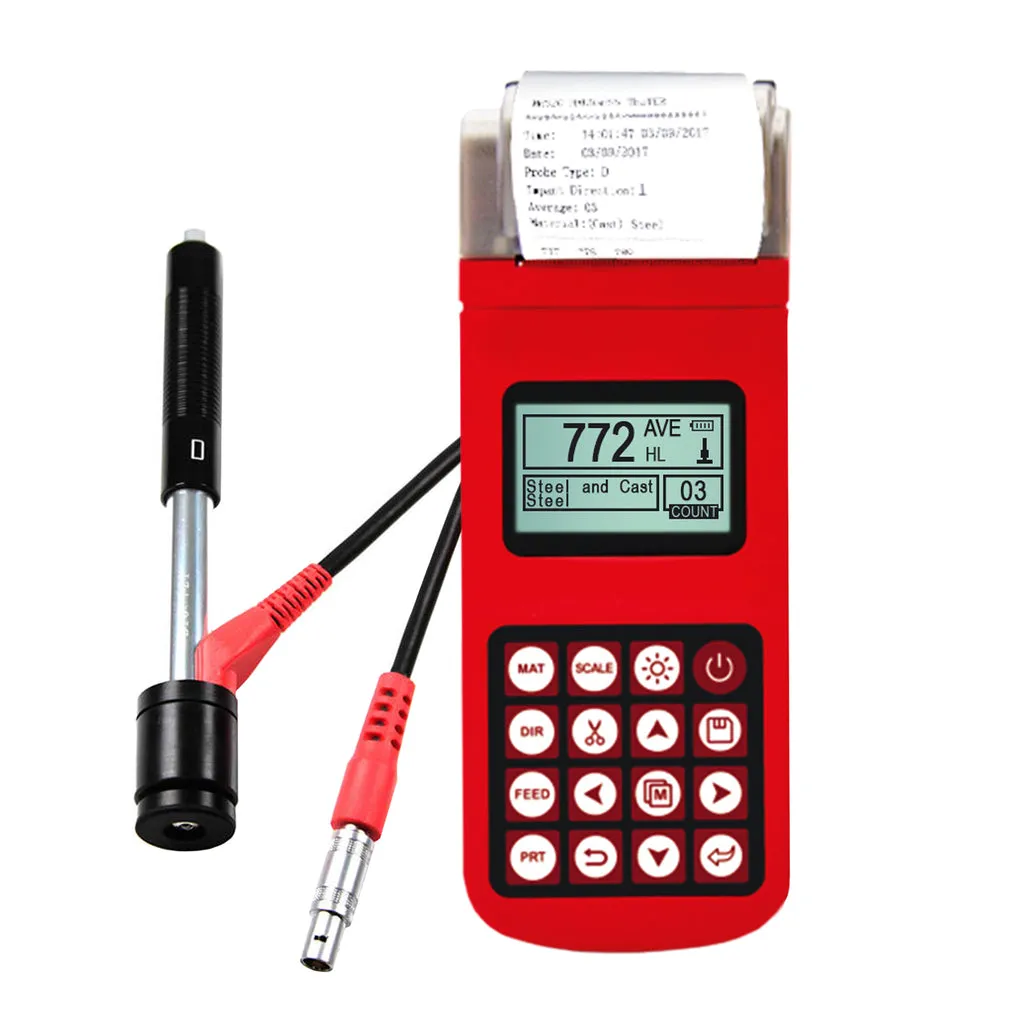
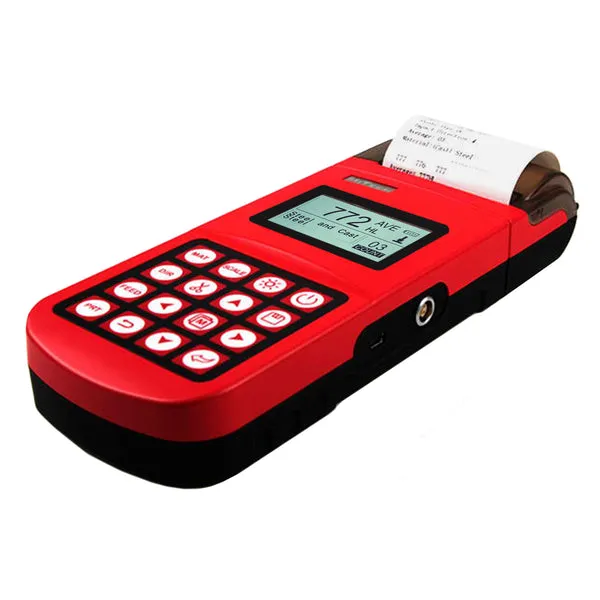
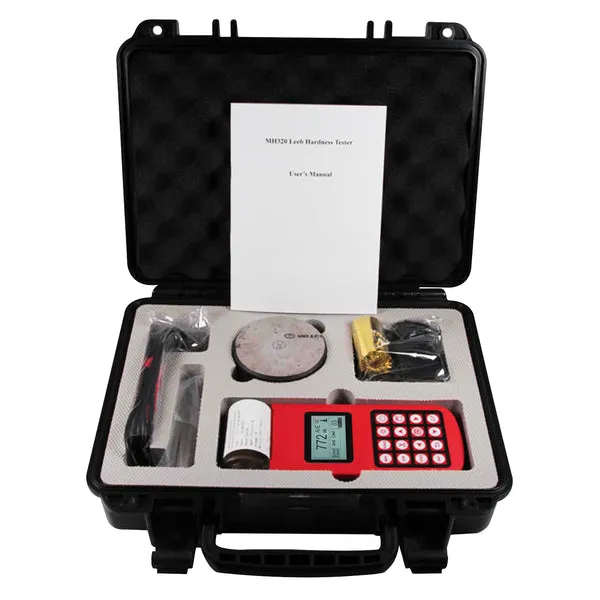
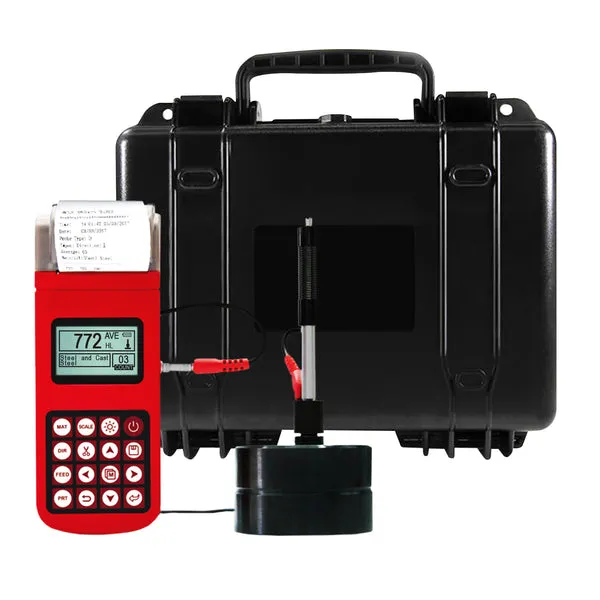
Leeb Hardness Tester Meter Gauge 170~960 HLD with Thermal Printer
Availability:
In stock
$2,299.08 $2,873.79
In stock
Leeb Hardness Tester Meter Gauge 170–960 HLD with Thermal Printer
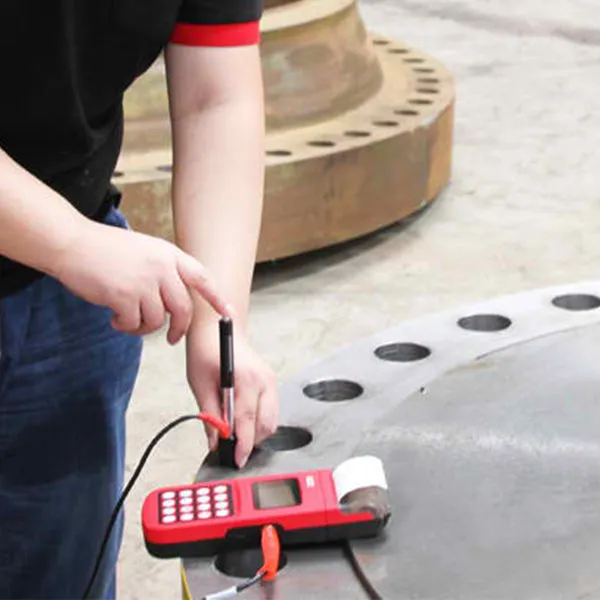
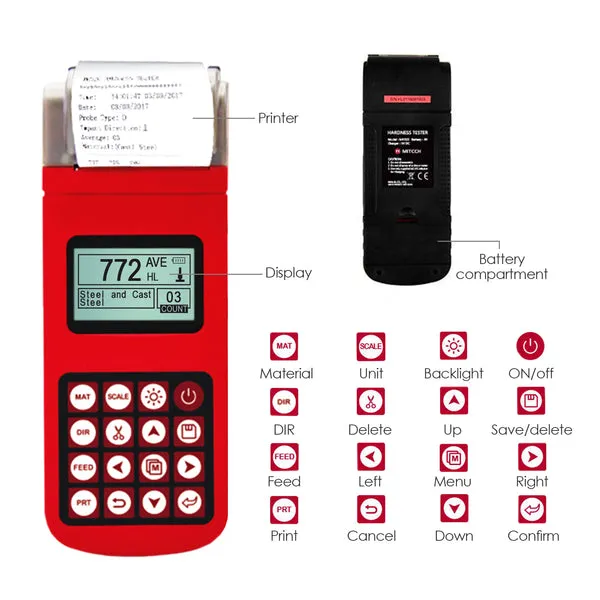
This portable Leeb hardness tester utilizes the Leeb hardness measurement principle and is ideal for various applications in metal processing, manufacturing, and failure analysis. With its rich information output and stable performance, this device is equipped with an integrated high-speed thermal printer for instant printing of measurement results.
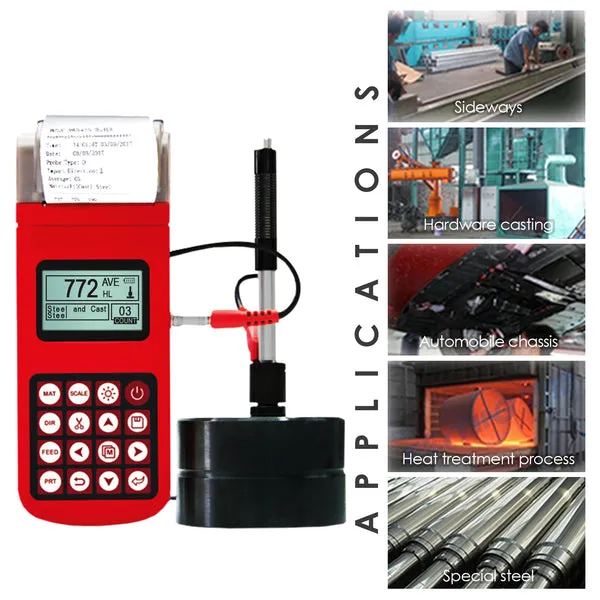
Applications:
- Die cavity of molds
- Bearings and other parts
- Failure analysis of pressure vessels, steam generators, and other equipment
- Heavy workpieces
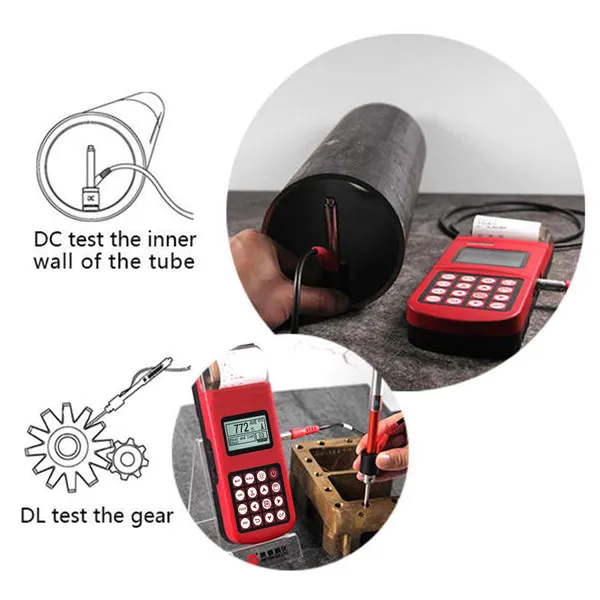
- Installed machinery and permanently assembled parts
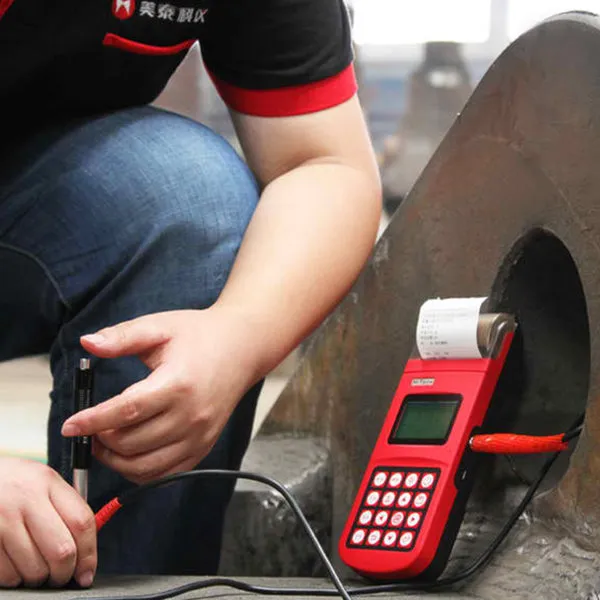
- Testing the surface of small hollow spaces
- Requirements for formal original records of test results
- Material identification in warehouses of metallic materials
- Rapid testing in large ranges and multi-measuring areas for large-scale workpieces
Features:
- Wide measuring range based on the Leeb hardness testing principle
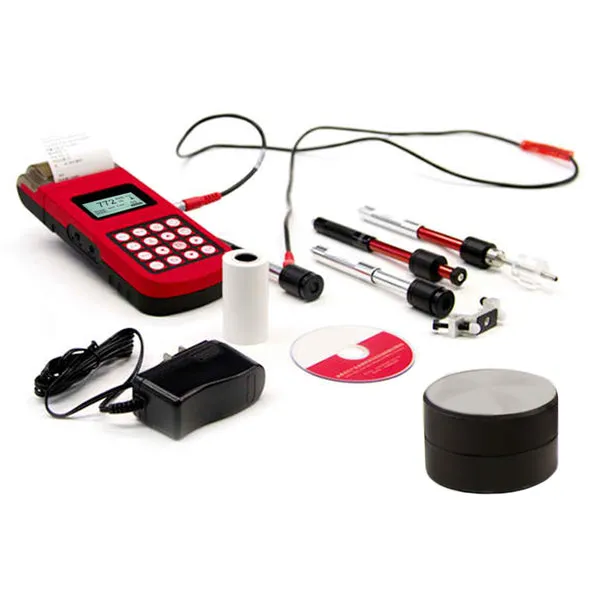
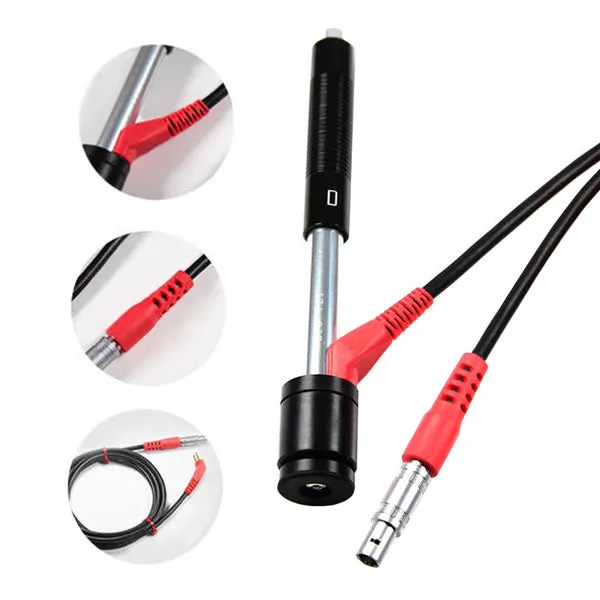
- Single main unit compatible with up to 6 impact devices
- Supports steel testing, showing HB directly with D/DC sensors
- Upper and lower limit presets with automatic alarm for out-of-range results
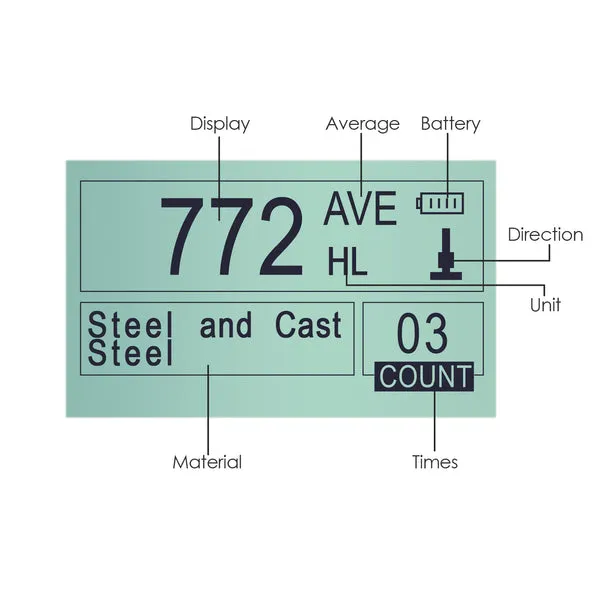
- Stores up to 500 groups of data, including single measured values, mean values, testing dates, impact directions, impact times, material types, and hardness scales
- Integrated thermal printer for convenient field printing
- Automatic software calibration
- Powered by a rechargeable NI-MH battery with a continuous working period of no less than 150 hours
- High brightness dot matrix LCD with adjustable backlight and auto power-off feature
- Battery status indicator for remaining capacity and charging
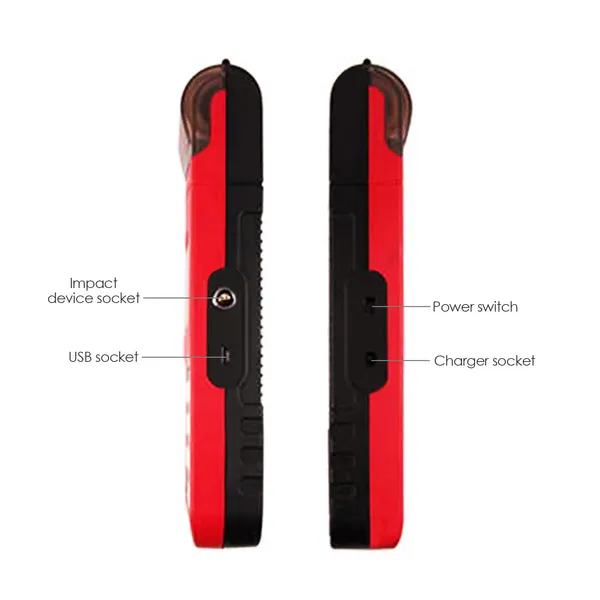
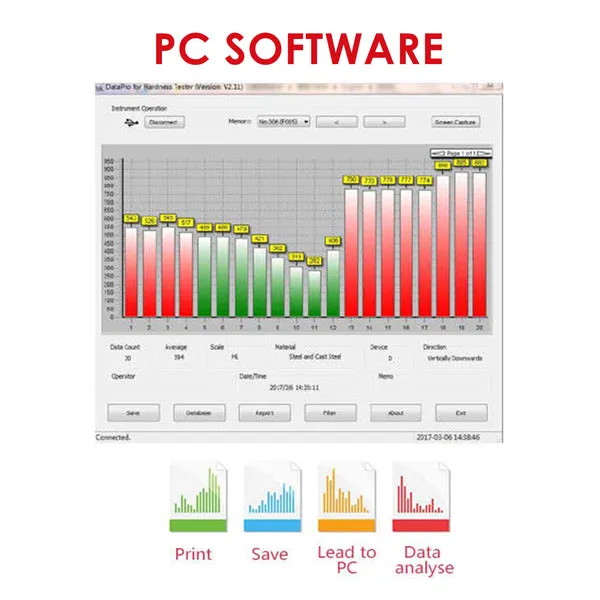
- USB port connectivity to PC
- Simple Chinese-English menu operation
- Compact size with high integration, stable performance, and resistance to harsh environments including vibrations, shocks, and electromagnetic interference
Specifications:
| Parameter | Details |
|---|---|
| Measuring Range | 170 ~ 960 HLD |
| Impact Direction | Vertically downward, oblique, horizontal, vertically upward (automatically identifies) |
| Error | ±6 HLD |
| Repeatability | ±6 HLD |
| Material Compatibility | Steel, cast steel, cold work tool steel, stainless steel, grey cast iron, nodular cast iron, cast aluminum |
| Hardness Scales | HL, HB, HRB, HRC, HRA, HV, HS |
| Impact Energy | 11 mJ |
| Impact Weight | 5.5 g / 7.2 g |
| Impact Ball Hardness | 1600 HV |
| Impact Ball Diameter | 3 mm |
| Impact Ball Material | Tungsten carbide |
| Sample Surface Roughness | D: 1.6 μm; C: 0.4 μm |
| Minimum Depth of Hardness Layer | D ≥ 0.8 mm; C ≥ 0.2 mm |
| Display | 128 × 64 dots, adjustable backlight |
| Storage Capacity | 500 measurement series (relative to average times 32 ~ 1) |
| Calibration | Single-point calibration |
| Data Printing | Thermal printing on site |
| Power Voltage | 6V Ni-MH battery pack |
| Power Supply | 9V / 500mA |
| Power Consumption | Low-power design |
| Standby Period | Approximately 150 hours (with default brightness) |
| Communication Port | USB 1.1 |
| Working Language | English |
| Shell Material | ABS plastic |
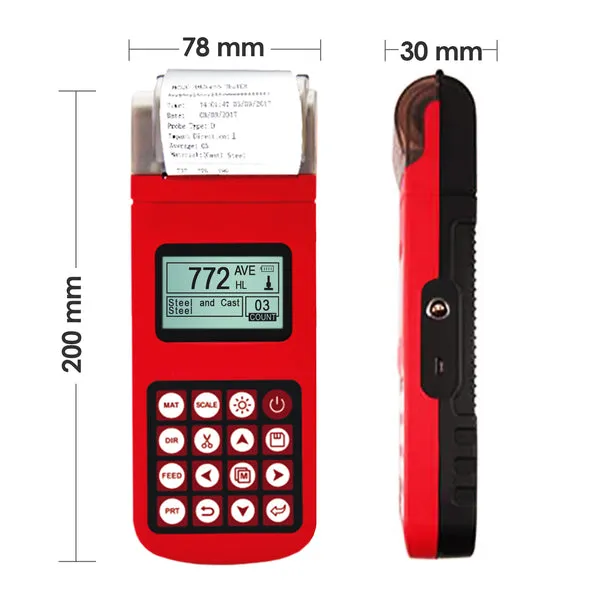
| Dimensions | 212 mm × 80 mm × 32 mm |
| Weight | 5.5 KG |

